
Measuring distances with the HC-SR04 ultrasonic sensor with an ESP32 in Arduino code
(Updated at 01/04/2023)
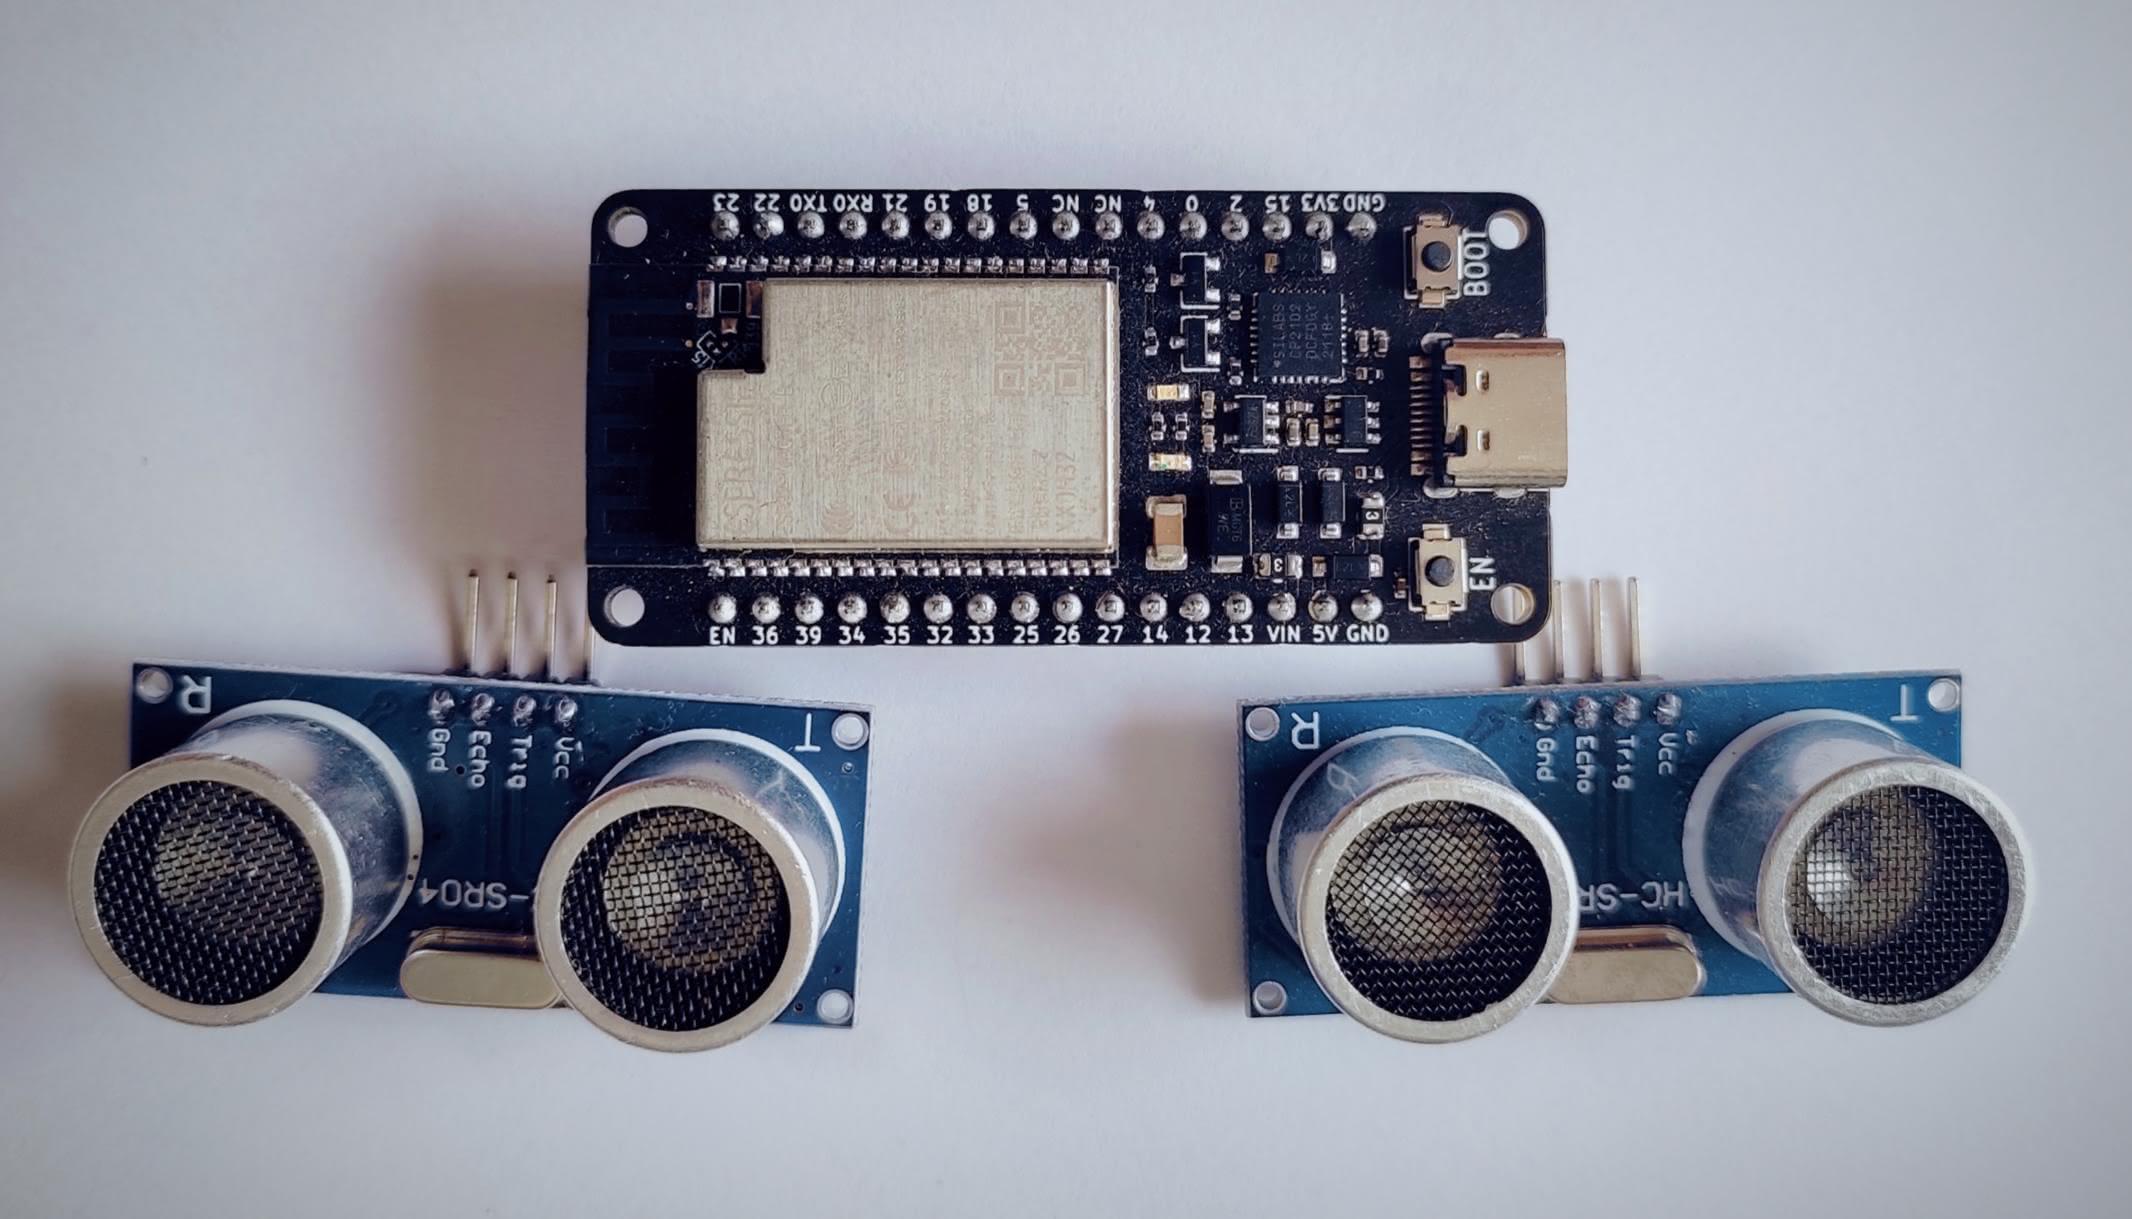
The sensor HC-SR04 allows measurement distances to an obstacle based on ultrasonic waves. The available modules are generally composed of an ultrasonic transmitter, a receiver, and a chip that controls them.
Tip
Please check that the module you have is an HC-SR04. Several ultrasonic modules look similar but do not use the same chip. The HC-SR04 (usually in blue) works only with 5V, while the RCWL-1601 (usually in green) also works with 3.3V. Fortunately, they are generally driven in the same way.
Getting started with the HC-SR04 module
The physical operation of the sensor
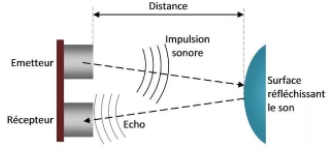
If you’d like to understand how the module works, you can consult the article that explains the detailed physical function of the HC-SR04 .
Technical specifications of the HC-SR04
Supply voltage: 5V
Consumption: The sensor consumes around 20mA in operation
Range: The module can measure a distance between 3cm to 4m in theory. In practice, a range between 10cm to 2.5m will give you the best results.
Measurement angle: < 15°
Warning
Obstacles slightly offset from the module can be measured, but the obstacle’s surface must be flat to get reliable measurements.
Ultrasonic frequency: 40 kHz
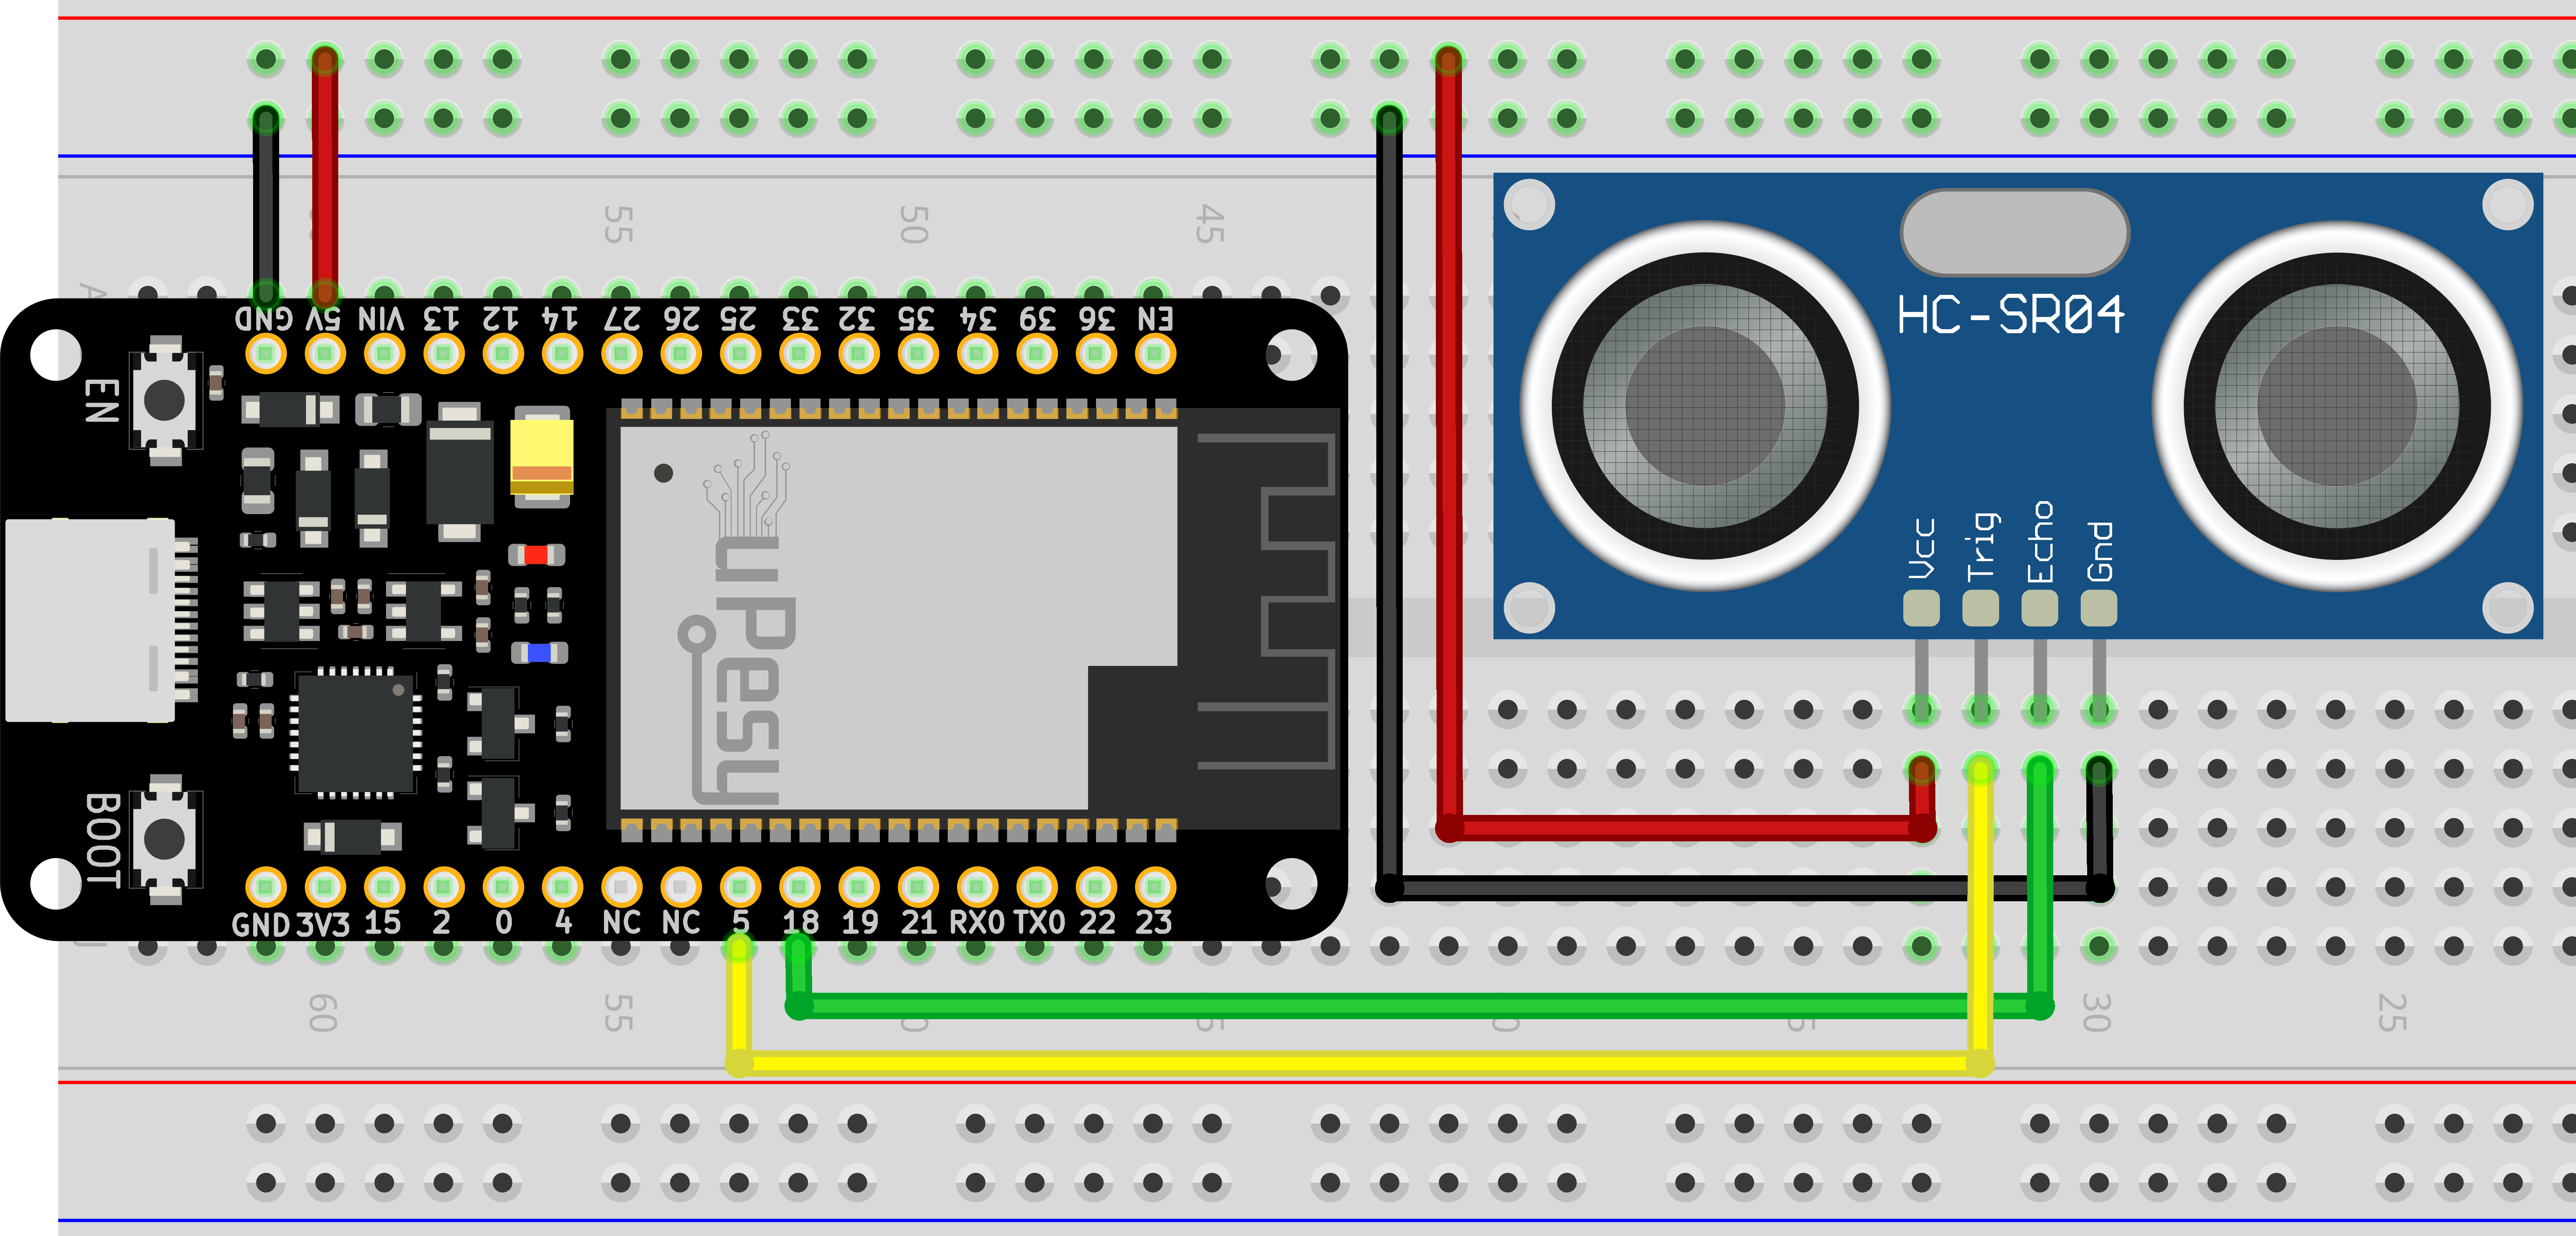
HC-SR04 sensor pinout
Apart from the power pins, only two pins are required to control the module. You can even use only one! In practice, two pins are used unless not enough pins are available on the ESP32.
Note
The pins GPIO5 and GPIO18 have been chosen arbitrarily: you can take any of the output ESP32 pins for TRIG and input for ECHO .
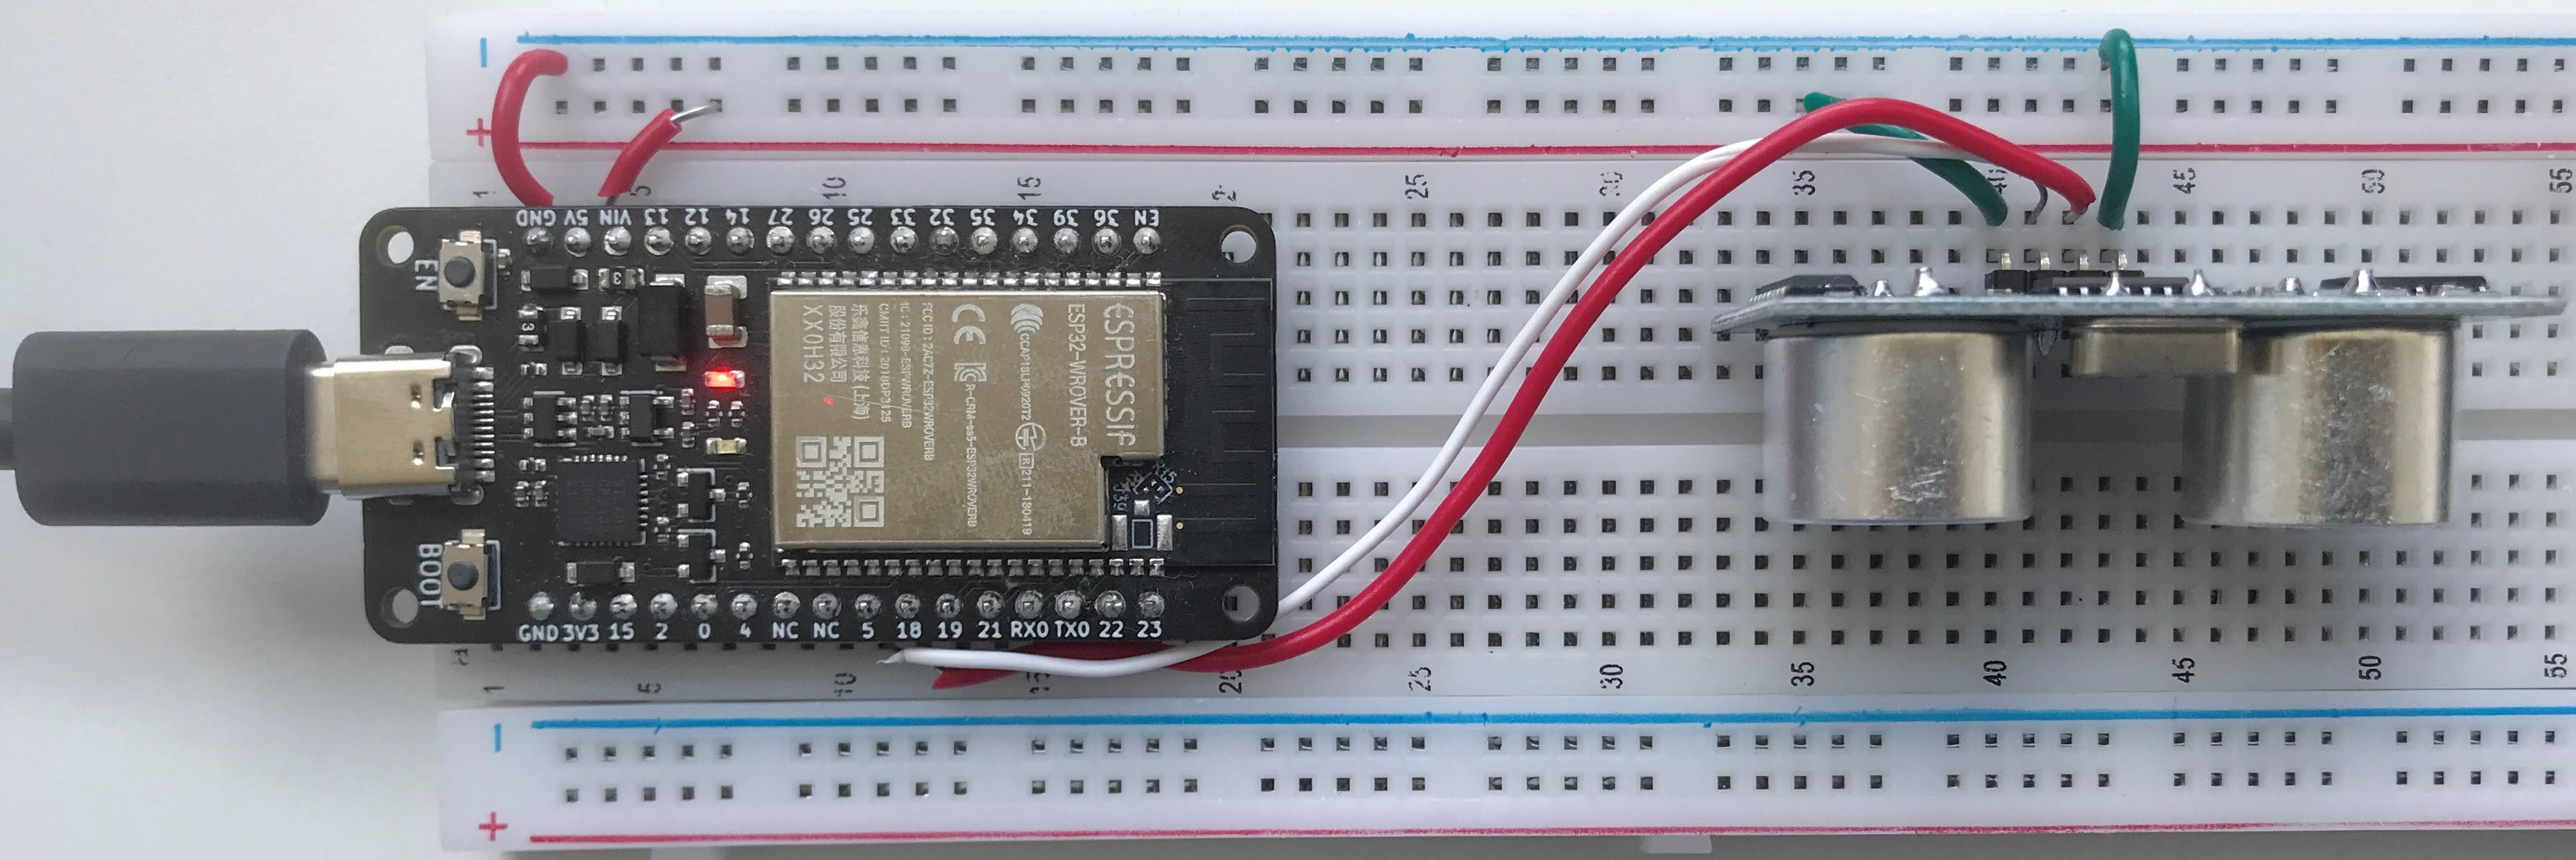
HC-SR04 module with an ESP32 Schematic
What is the power supply of the module: 5V or 3.3V?
The HC-SR04 module is not the most relevant sensor for ESP32 boards because it works in 5V (5V logic levels), whereas ESP32 works in 3.3V. It should be supplied with 5V, and either levels shifters or voltage divider bridges should be added on the pin ECHO . In this way, the pin of the ESP32 GPIO18 will receive 3.3V instead of the original 5V. But this makes the circuit a bit more complex.
Tip
In practice, if it is for temporary use, the pins of the ESP32 can support a voltage of 5V. In the long term, they risk being damaged and not working anymore. That’s why these precautions have been omitted in this tutorial for simplicity.
Note
Some internet users say that they manage to power the HCSR04 module with 3.3V and get reliable measurements by increasing the duration of the pulse sent. However, I did not manage to make work the ones I had in my possession with a voltage of 3.3V.
If you use many boards with 3.3V (ESP8266, ESP32, Raspberry Pi Pico), I advise you to use an equivalent model designed to work with this voltage: for example, the RCWL-1601.
Easily measure a distance with basic Arduino functions
It is not necessary to use external libraries because the process is straightforward. When the ESP32 sends a pulse on the TRIG pin, the module sends back a pulse to the ECHO pin, whose duration is proportional to the distance from the obstacle.
It corresponds to the time taken by the ultrasonic wave between its emission and its reception by the module. By applying basic physical formulas, we can easily find the measured distance.
Note
Obtaining this formula is detailed in the article on the operation of an ultrasonic sensor .
You must implement a measurement’s triggering, get the value and apply the formula. This is what the code below does:
const int trig_pin = 5;
const int echo_pin = 18;
// Sound speed in air
#define SOUND_SPEED 340
#define TRIG_PULSE_DURATION_US 10
long ultrason_duration;
float distance_cm;
void setup() {
Serial.begin(115200);
pinMode(trig_pin, OUTPUT); // We configure the trig as output
pinMode(echo_pin, INPUT); // We configure the echo as input
}
void loop() {
// Set up the signal
digitalWrite(trig_pin, LOW);
delayMicroseconds(2);
// Create a 10 µs impulse
digitalWrite(trig_pin, HIGH);
delayMicroseconds(TRIG_PULSE_DURATION_US);
digitalWrite(trig_pin, LOW);
// Return the wave propagation time (in µs)
ultrason_duration = pulseIn(echo_pin, HIGH);
//distance calculation
distance_cm = ultrason_duration * SOUND_SPEED/2 * 0.0001;
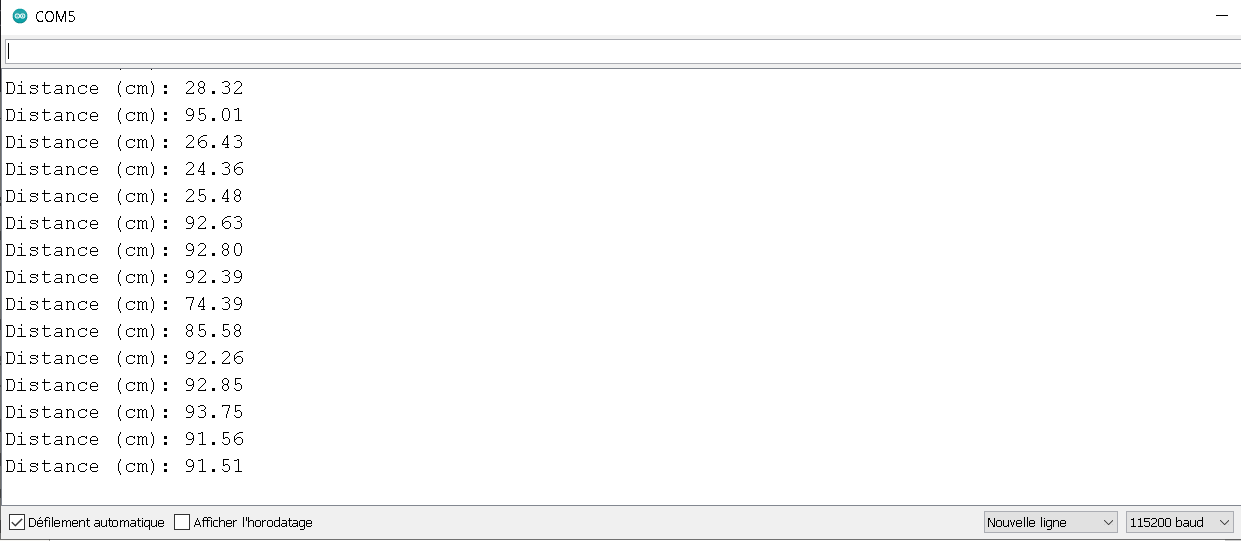
// We print the distance on the serial port
Serial.print("Distance (cm): ");
Serial.println(distance_cm);
delay(1000);
}
The program generates a 10µs pulse sent on the GPIO5 of the ESP32.
The function pulseIn() blocks the program until it receives the response pulse from the HC-SR04 from the 18 . Then the code calculates the distance from the duration of the ultrasound wave. The program displays the distance between the module and an obstacle (my hand in this case 🙂 ) in the serial monitor.
You can decrease the delay delay(1000) to have more regular measurements. (Until the ultrasonic module has time to make the measurement)
This approach is excellent for understanding how the HC-SR04 module works. However, as it is, it will not be efficient in more complex programs because it blocks the execution of other tasks via the pulseIn() function. The solution is to use interrupts to have asynchronous measurements.
Libraries for the HC-SR04 in ESP32-compatible Arduino code
The use of external libraries dedicated to the HC-SR04 is relevant in a larger project when you want to have more features:
Efficiently manage multiple ultrasound modules
Have asynchronous distance readings (with interrupts and timers)
Managing measurement errors
Warning
If you already use libraries for the HC-SR04 with an Arduino board, the library needs to work correctly with an ESP32. For example, the library NewPing focuses on ultrasonic sensors but still needs to integrate the management of asynchronous measurements for the ESP32.
This section is available to premium members only. You still have 70% to discover.
Subscribe for only 5$/monthAlready subscribed? Sign in